Canning 101: The Ultimate Guide
This post contains affiliate links, which means I receive a small commission, at no extra cost to you, if you make a purchase using this link.
Here is the ultimate guide to canning 101!
What is Canning?
Canning is the process used to preserve food. There are two main types of canning. Pressure canning and water bath canning. Pressure canning is necessary for canning low acid vegetables and any meat. Water bath canning is for high acid vegetables and most fruits.
Common Misconceptions with Canning
- Canning is very hard
- I will blow up my house and myself
- Canning isn’t worth it
While canning does involve work and is a process, it really isn’t all that hard to do. I’ve done this for years and am happy to share what I’ve learned through trial and error. Pressure canners do need supervision, but the newer canners have more safety features to release steam than the older canners. Canning is totally worth it when it is in the middle of winter and you open a jar of fresh tomato juice to make chili or soup or just to drink! It is so much better than store bought.
How to Get Started
The first thing to get started is to have something to can. This can be your own produce or food you’ve purchased from either a farmer’s market or store.
Next, you need a good stove to can on. If you have a smooth top stove, you need a pressure canner specifically made for that type of stove. See this post about pressure canners.
Then you need jars. If you have a family member or friend that used to can and no longer does, see if they have any jars laying around they don’t want anymore. This is a great way to get started. Just make sure there are no chips or cracks.
Don’t have any? No problem, later I’ll let you know exactly which jars I use.
Also, you will need lids and bands. The lids are never reusable, but the bands can be reused from year to year.
Before canning, I always run my jars and bands through the dishwasher. Mine has a sanitize cycle that I use, but it isn’t necessary. Just as long as they’re clean.
Supplies Needed
- Large pot for boiling jars
- Small saucepan to boil lids and bands
- Potholders
- Pressure canner or boiling water bath canner
- Canning salt
- Vegetables or fruit
- Ladle
- The following items
Best Products to Begin Canning
- Before products, I highly recommend this book for beginners. This is the place you will get all the info you need as far as how long and at what pressures certain foods need to process. Read this post from thefrugalchicken.com about canning mistakes that can make you sick.
- The first product I definitely recommend is this basic canning set. I didn’t have this for the first few years of canning and could’ve kicked myself for not getting it sooner! So inexpensive and totally worth the small investment.
NorPro Canning Set
This canning set is amazing because the funnel is the perfect size for quarts, pints 1/2 pints (or jelly jars). Tool to easily measure the appropriate head space and double to remove bubbles so you get a good seal. The small stick looking thing on the end has a magnet so you can safely get your lids and rings from boiling water. The jar lifter is my favorite thing EVER! It keeps your jar upright while lifting them safely from hot water.

Ball Mason jars
- Now if you don’t have access to any jars, here are the jars I use. you can use wide mouth or regular mouth jars. If you are canning a lot of green beans or something, start with quart jars. If you can’t eat a whole quart when it is opened use pint jars. The main thing is to can in quantities you can use quickly after opening.

Canners
- Also, you need two types of canners. Here is the post I did about pressure canners that you can read about here. For high acid vegetables (such as tomatoes) and fruit, you will need a boiling water bath canner.


Juicer
- If you plan on juicing tomatoes or berries, I like an electric juicer for this job. Beware! It can be a bit messy. This is the one I use.
- I have also used this juicer for a less expensive option. Basically, anything is better than the wooden handle with cheesecloth and a colander the way I remember my mom doing it!
Canning Salt
- This is the canning salt I use to add flavor. Canning and pickling salt is what you should use when home canning. It is made specifically for this purpose. This salt doesn’t contain iodine or anti-caking agents which these can turn the liquid cloudy. If you’re looking to cut down on salt, many items are ok to be canned without salt

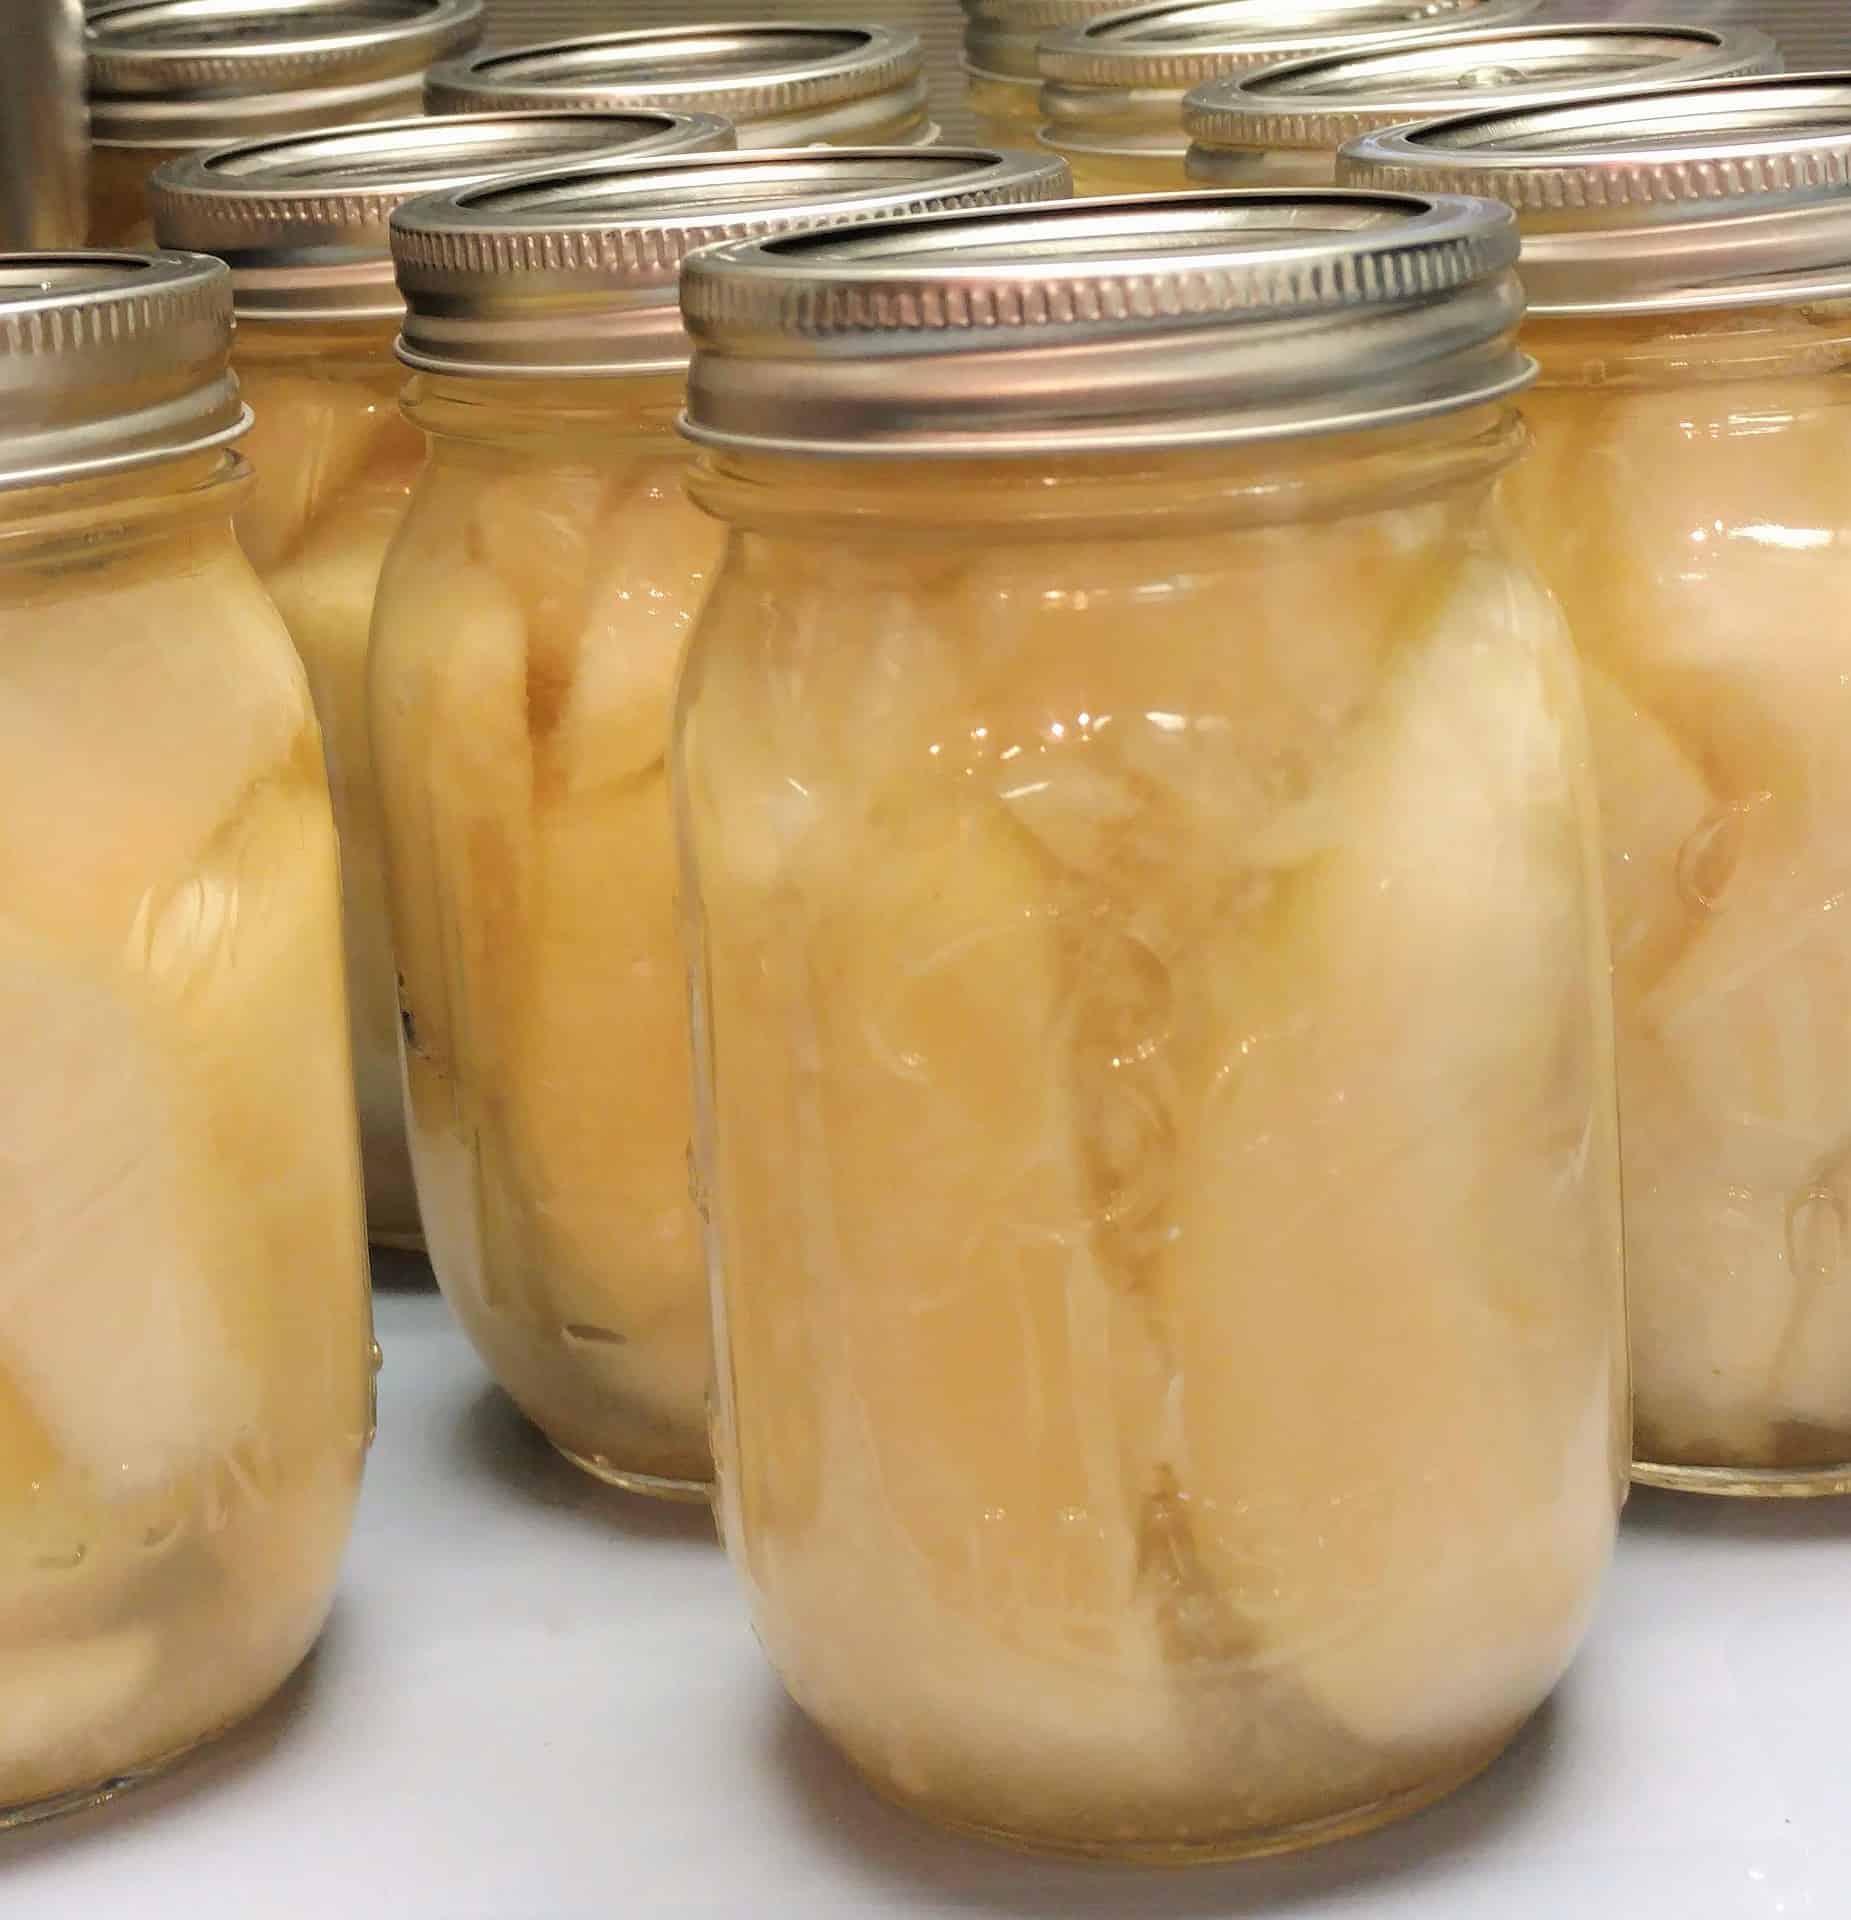
Getting Started Canning
To get started, gather all of your supplies. In your large pot and a small saucepan, fill with water and get that to boiling. Boil your jars in the large pan and your bands and lids in the small pan. Boil the lids for at least one minute and the jars for several minutes to sterilize. Use the tongs in the canning set to remove from the hot water. After sterilizing your jars, place on a clean old towel.
Empty the pot you sterilized your jars in and get a clean pot of boiling water ready. Use the funnel from the canning set to fill your jars with produce and add the appropriate amount of canning salt. Some items such as green beans require filling the jars with boiling water. Use the headspace measure in the canning set. Wipe the rim of the jar with a clean towel and using lid remover from the canning set remove from boiling water and apply to jars. Then apply the band and tighten finger tight only.
Apply to canner according to instructions for either pressure canning or boiling water bath canner. Remove using gripper from canning set and as they cool you will hear a “pop” then check to see if the jar has sealed. The lid shouldn’t give on top if it is properly sealed.
Common Questions About Canning 101
How long do you boil a jar to seal it?
- It depends on what it is you’re canning. Most high acid vegetables and fruits the general time in a boiling water bath canner is 10 minutes. Again this can vary depending on what you are canning.
- Pressure canning requires different pounds of pressure for different amounts of time depending on what you’re canning. The book recommended above gives you all the info you need for times.
What foods can be canned?
- Pretty much any fruits, vegetables, and meat can be canned. I also can leftover soup sometimes and homemade chicken broth.
How do you can using a water bath?
- Using a water bath canner is the easiest way because the jars fit better and it comes with a rack to lift jars out when they’re done. But it can be done with just a large pot of boiling water enough to cover the jars when standing upright in the pot.
The Last Thing You Need to Know about Canning
- It does take some time and effort but so worth the work! It’s not difficult work but needs to be done when you have time to pay attention to it. It usually takes me an afternoon to do this unless I have a lot ready at one time. Then a full day is in order.
- Let me know what you think of this list for Canning 101. Is there anything else you would recommend?
Love Hot Sauce?
ZORN Hot Sauce, Gourmet Hot Sauce with Carolina Reaper Peppers, Lightly Sweet, Soothin’ Heat Awesome Flavor Experience in a Bottle, 5 oz.